

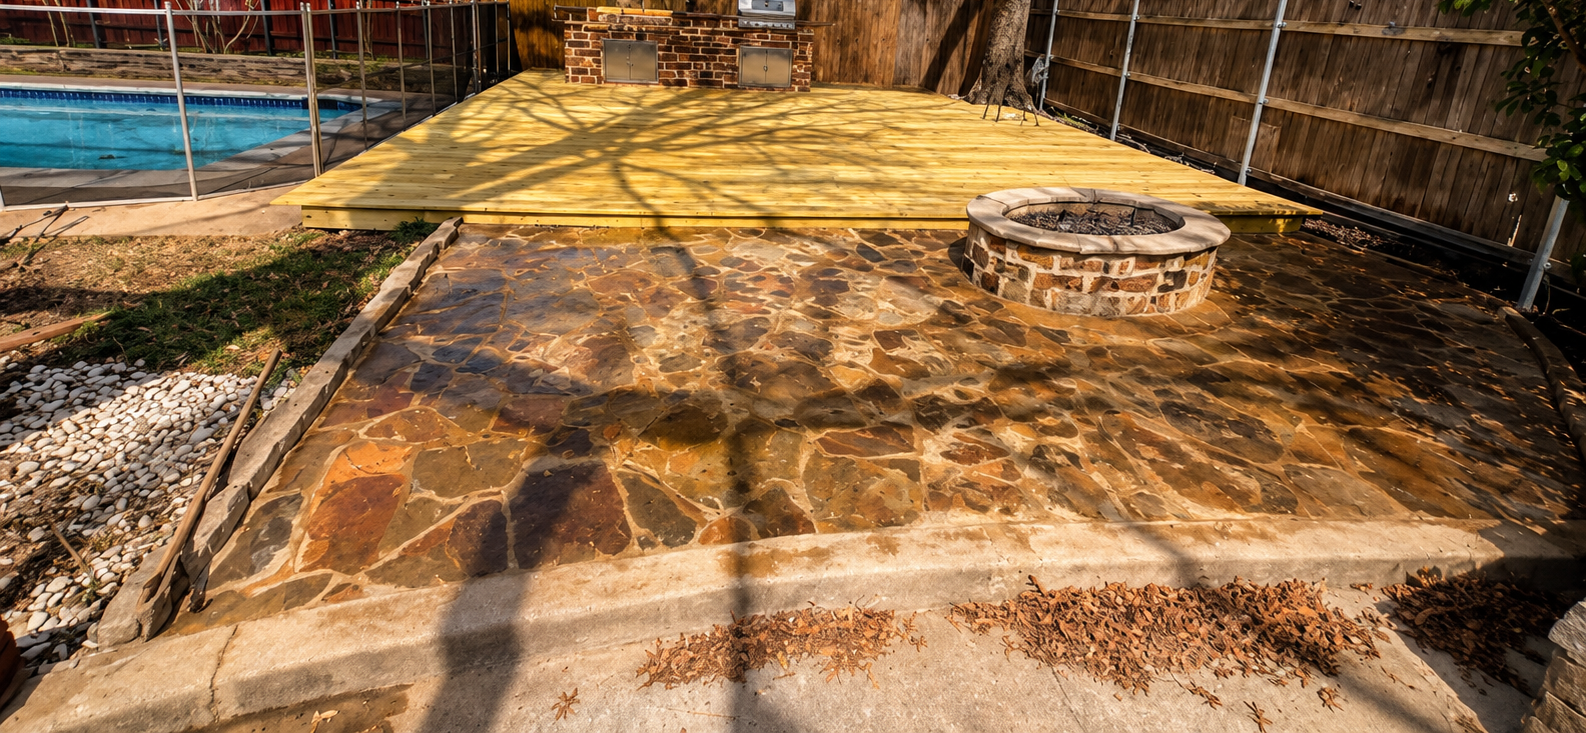
Quick Answer: A strong patio builder in Midlothian excavates and compacts a proper base before any concrete or pavers go down, places reinforcement and control joints at set intervals instead of guessing, and designs around North Texas heat, hail, and the region's expansive clay soil rather than treating every yard the same. Ask to see finished patios that have been through at least one full Texas summer and winter, get the scope of work in writing, and confirm who is actually on the crew doing the excavation and forming. A builder who answers those questions in detail, without hedging, is usually the one worth hiring. A cracked patio slab rarely fails the first summer. It fails two or three years in, after the ground underneath has swelled and shrunk through enough wet-dry cycles that whatever base was under it gives way. In Midlothian and the rest of the DFW-south corridor, that ground is expansive clay, and it does not forgive shortcuts. Choosing the right builder before the first shovel hits dirt matters more here than in most parts of the country, because the soil, the heat, and the storm patterns all work against a patio that was not built for the area. This guide walks through what separates a builder who understands North Texas conditions from one who is just pouring concrete or laying pavers and hoping for the best.
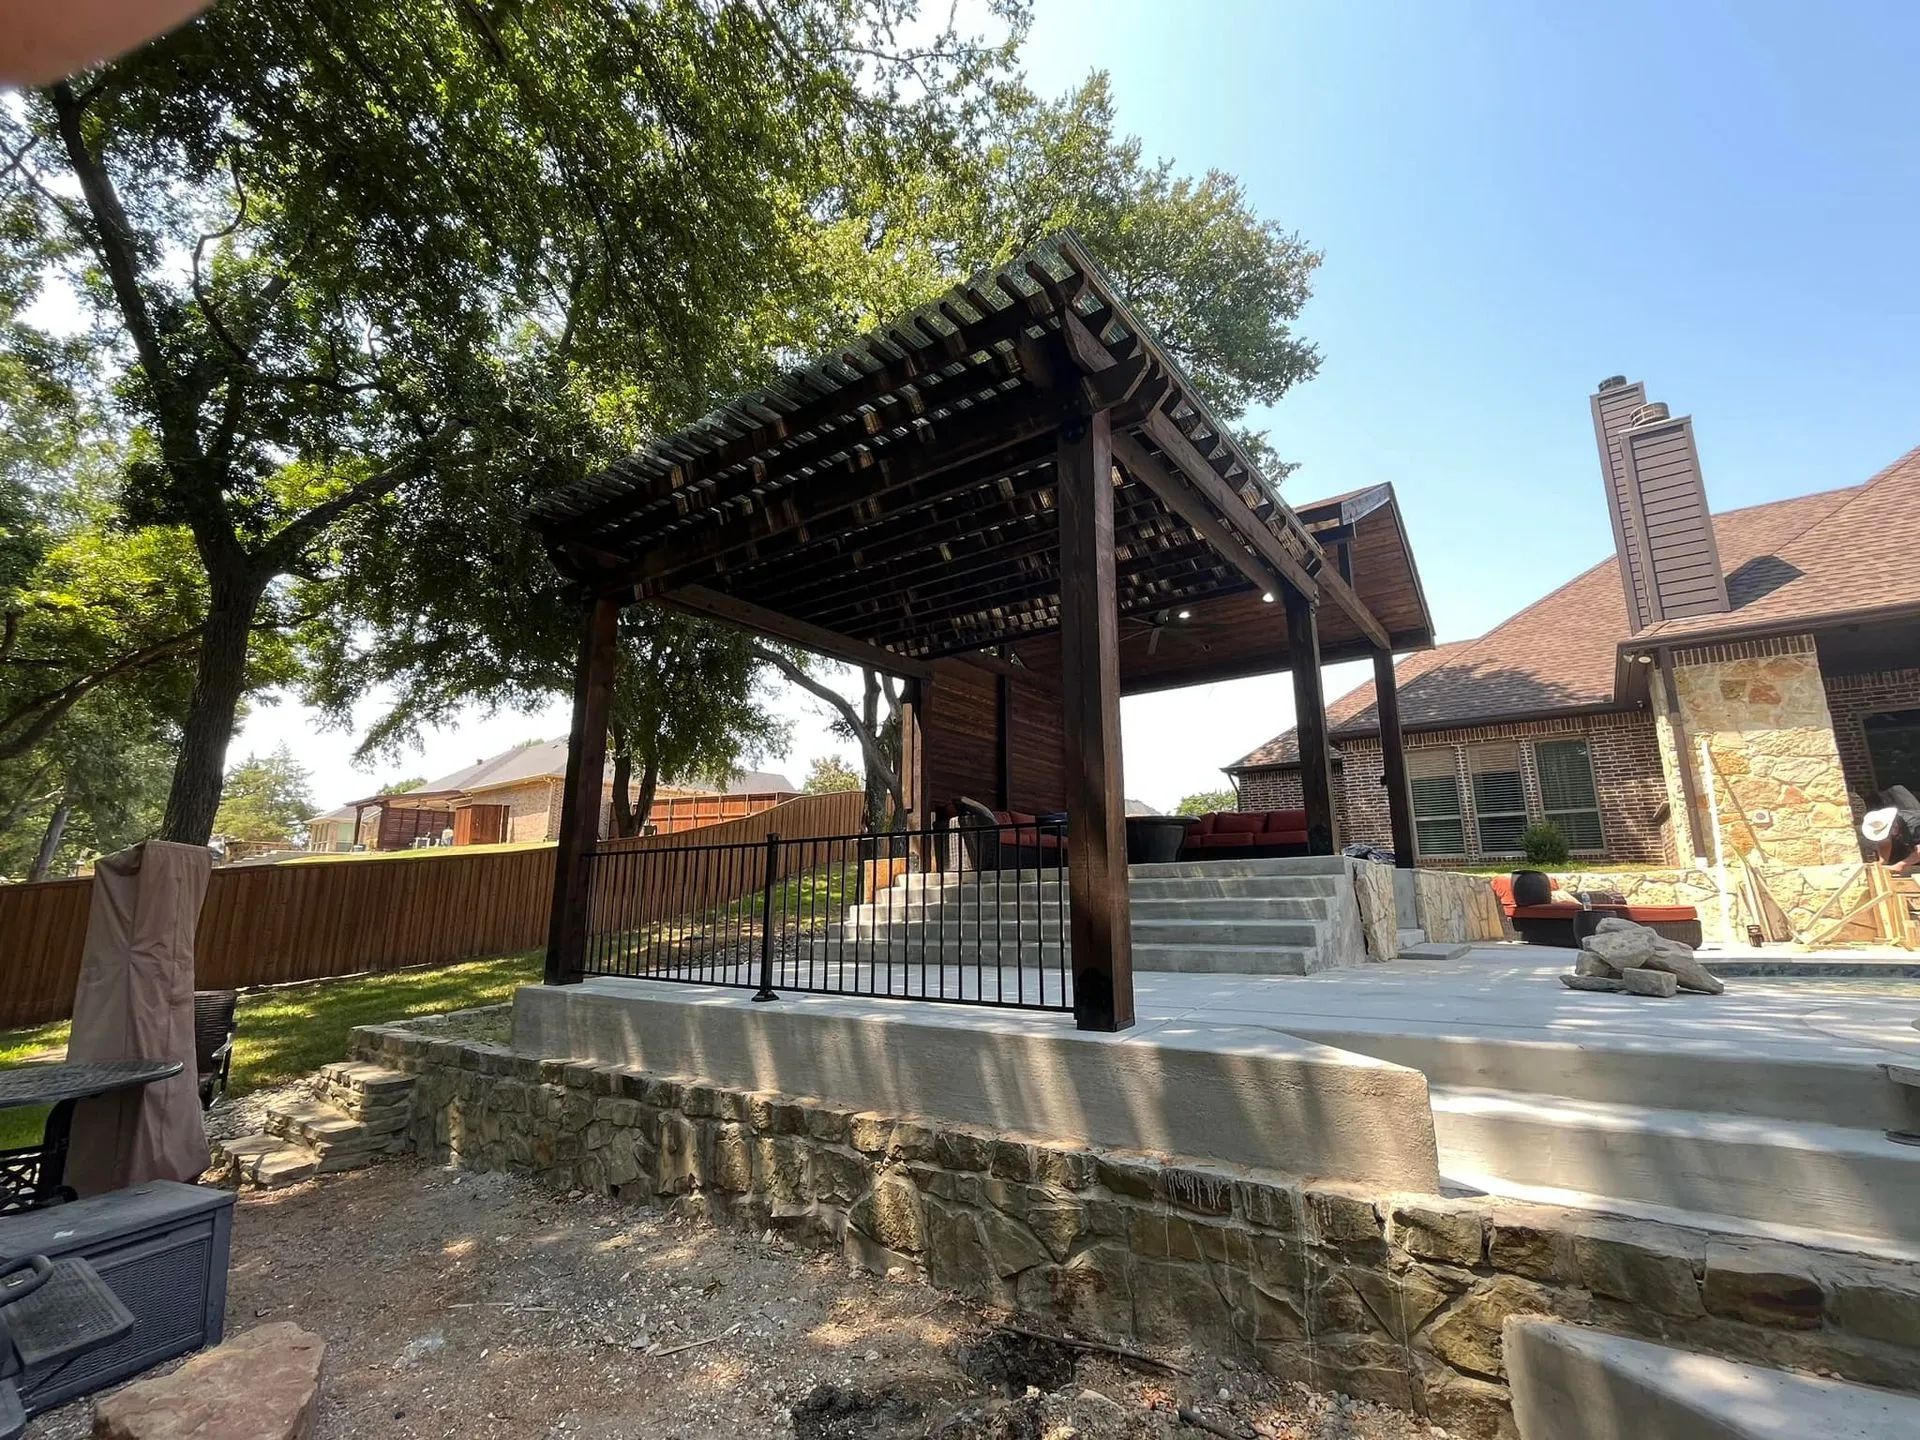
Enhance your outdoor space with expert fencing, decking & patios. Get started on your project today!
1. Definition and Location Patios: A patio is a paved or hard-surfaced area that is typically located at ground level in your backyard or garden. It is usually attached to the house but can also be a separate feature. Patios can be constructed with a wide variety of materials such as concrete, stone, tile, or brick. Features: Built at ground level, often with no railing. Can be attached or detached from the home. May feature outdoor furniture, gardens, and fire pits. Decks: A deck is an elevated outdoor platform that is typically made of wood, composite, or vinyl materials. It is often attached to the house and can vary in height, with many decks being raised several feet off the ground. Features: Elevated from the ground, often requiring railings. Usually made of wood, composite, or PVC materials. Commonly found at the back of the house, often providing access to upper floors. 2. Material Options Patios: Patios offer more material variety, as they are typically constructed using solid materials like: Concrete Brick Stone (flagstone, pavers, etc.) Tile Gravel The material choice for patios is broader, giving homeowners flexibility in terms of style, color, and texture. Decks: Decks are typically made from: Wood (pressure-treated, cedar, redwood) Composite (a blend of wood fibers and plastic) PVC (plastic-based material) While composite and PVC materials have gained popularity for their low-maintenance qualities, wood remains the classic choice for many homeowners. 3. Installation Process Patios: Patios are generally easier and quicker to install than decks, especially if you opt for simpler materials like gravel or pavers. However, complex stonework or custom designs may take longer. Patios typically require excavation and a solid base for proper drainage. Decks: Deck installation can be more complex and time-consuming, especially when it involves elevated structures and supports. Decks require a foundation (posts and footings) for stability, especially when elevated. The installation process can be more expensive due to labor and material costs. 4. Cost Differences Patios: Patios tend to be more affordable than decks, especially if you choose basic materials like concrete or gravel. However, the price can increase with premium materials like natural stone or intricate designs. Estimated Cost: Basic patios: $10–$20 per square foot. Premium materials or custom designs: $25–$50 per square foot. Decks: Decks are typically more expensive to build, especially with the use of high-quality wood, composite, or PVC materials. Elevated decks, particularly those requiring additional structural work, can significantly increase the overall cost. Estimated Cost: Basic wood decks: $15–$30 per square foot. Composite or PVC decks: $30–$60 per square foot. 5. Maintenance Needs Patios: Patios are low-maintenance compared to decks, especially if made from durable materials like stone or concrete. However, they still require occasional cleaning, resealing (for certain materials), and weed control between the pavers. Decks: Decks generally require more maintenance, especially if made from wood. Wood decks need to be sealed, stained, or painted regularly to protect them from the elements. Composite and PVC decks are lower-maintenance but still require occasional cleaning to remove dirt and debris. 6. Durability and Lifespan Patios: Patios made from materials like concrete, stone, or brick can last for many years with minimal maintenance. These materials are highly durable and resistant to weathering. Lifespan: Concrete patios can last 20–30 years or more. Stone or brick patios can last 50+ years with proper care. Decks: Decks, especially those made from wood, tend to have a shorter lifespan and can degrade over time due to exposure to the elements. Composite and PVC decks are more durable and can last longer than traditional wood decks. Lifespan: Wood decks typically last 10–15 years. Composite or PVC decks can last 25+ years with proper care. 7. Aesthetic Appeal and Style Patios: Patios can be highly customizable and fit a variety of styles. They work well with outdoor gardens and landscaping, often blending seamlessly into the natural surroundings. You can choose different paving patterns, materials, and decorative elements to create a unique look. Decks: Decks tend to have a more structured appearance due to their materials and elevated design. However, they can still be customized with railings, built-in seating, and decorative touches. Decks provide a more modern or rustic appeal, depending on the materials chosen. 8. Usage and Functionality Patios: Patios are perfect for dining, lounging, gardening, or hosting events. Since they are on the ground level, they provide more space for furniture and other features like outdoor kitchens, gardens, and fire pits. Decks: Decks provide great spaces for outdoor living, such as relaxing, entertaining, or dining. Elevated decks are ideal for homes with a view, as they allow you to enjoy the scenery from a higher vantage point. 9. Resale Value Patios: Patios can increase the value of your home, especially if made from high-quality materials like natural stone. They are considered an attractive feature by many buyers, especially in warmer climates where outdoor living is popular. Decks: Decks also offer significant resale value, particularly in areas with a lot of outdoor activity. They are often seen as an extension of the living space and can increase the appeal of a property. Conclusion Both patios and decks are excellent additions to your outdoor space, each offering unique advantages. A patio provides a low-maintenance, cost-effective outdoor area that seamlessly blends with the landscape. On the other hand, a deck offers versatility, elevated views, and a more modern aesthetic. The decision ultimately comes down to your budget, the style of your home, your maintenance preferences, and how you plan to use the space. Whether you opt for a patio or a deck, both can enhance your outdoor living experience and increase the value of your home. FAQs 1. Is a deck more expensive than other outdoor options? Yes, decks are typically more expensive due to material costs and the complexity of installation, especially if elevated. 2. How long does a deck last? Wooden decks last about 10-15 years, while composite or PVC decks can last 25+ years with proper maintenance. 3. What maintenance does a deck need? Wooden decks require regular sealing, staining, and cleaning, while composite and PVC decks need less maintenance but should be cleaned occasionally. 4. Can I install a deck myself? DIY installation is possible for small decks, but larger or elevated structures are best left to professionals for safety and structural integrity. 5. What is the best material for a deck? Wood, composite, and PVC are popular options, with composite and PVC offering lower maintenance and better durability, while wood offers a traditional, natural look.